✦ Learn ✦
Printing Your Chart: Tips for Success
Get perfect prints every time with these practical printing and storage tips for your needlepoint charts.
By Molly · July 10, 2026
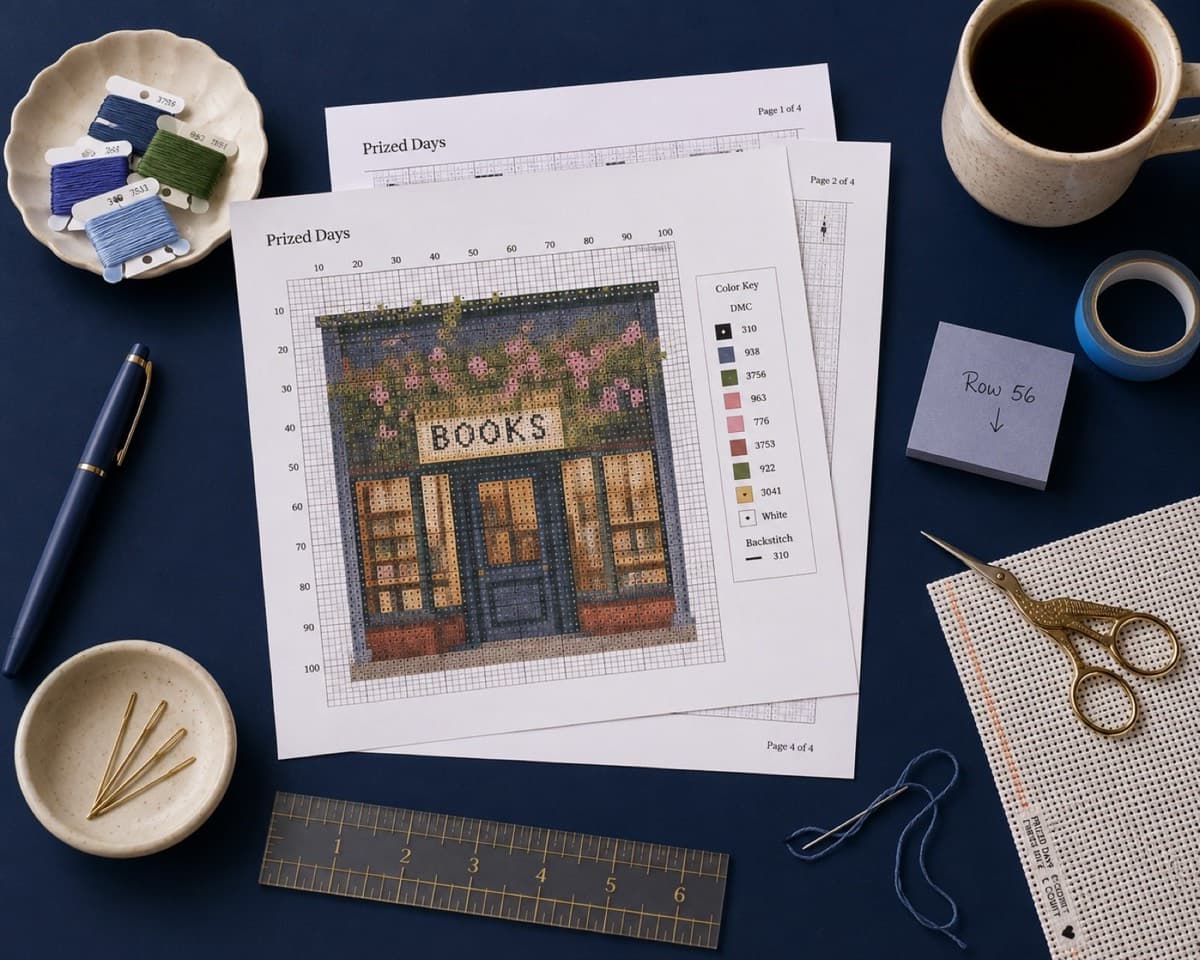
Quick answer: A well-printed chart on quality paper (24 lb cardstock or matte photo paper) with accurate color settings ("Best" quality, "True Color" mode) is essential for success; always print a test page first to verify color accuracy and grid clarity. For multi-page charts, print all pages, verify they align perfectly at overlapping grid lines, and tape or glue them together on the back only—keep your working section easily visible without constant unfolding.
A well-printed chart is a joy to work from. Colors are clear, grids are crisp, and your stitching flows naturally. A poorly printed chart leads to frustration, miscounts, and the slow creep of regret. This guide ensures your charts print beautifully the first time.
Pre-Print Preparation
Check Your File
Before touching the printer:
- Open your chart PDF in a viewer and zoom to 100% to verify color accuracy
- Ensure all pages are accounted for if your chart spans multiple sheets
- Note the paper size requirement (usually US Letter or A4)
- Check that page numbers or section labels are visible to prevent confusion during assembly
Choose Your Paper
Paper quality makes a measurable difference:
- Standard 20 lb white printer paper: Adequate for quick reference, prone to wrinkling with heavy use
- 24 lb cardstock or premium paper: Noticeably sturdier, withstands coffee spills and hoop creases better
- Matte photo paper: Excellent color reproduction if your chart includes detailed color gradation
- Glossy photo paper: Not recommended—ink sits on the surface and smudges easily
For charts you'll reference frequently over several weeks, investment in premium paper pays dividends.
Optimal Print Settings
General Guidelines
| Setting | Recommendation | Why |
|---|---|---|
| Quality | "Best" or "Fine" | Crisp grid lines, accurate colors |
| Color mode | "True Color" or "Full Color" | Prevents color shift toward magenta or yellow |
| Scaling | "Fit to page" or 100% | Prevents accidental shrinking |
| Margins | Minimize or "borderless" if available | Ensures entire chart fits |
| Paper size | Matches your paper | Prevents cutting off edges |
Testing
Print a test page first—a single sheet of your largest-colored section. Examine:
- Color accuracy: Do colors match your thread palette?
- Grid clarity: Can you see the individual squares distinctly?
- Text legibility: Are row/column numbers readable?
- Paper quality: Does the paper feel substantial enough for weeks of use?
Only after confirming the test print do you proceed to printing your full chart.
Handling Multi-Page Charts
If your chart spans multiple pages:
- Print all pages (don't skip pages hoping to figure it out later)
- As they emerge from the printer, immediately check each one for printing errors
- Lay them out on a large surface (floor, table) to verify pages align correctly
- The overlapping grid lines should match perfectly where pages meet
- Tape or glue pages together carefully on the back only—don't tape over the chart face
Many stitchers prefer to tape pages, then carefully fold the assembled chart into thirds for portability. The key is ensuring your working section is easily visible without constantly unfolding the entire assembly.
Color Considerations
If Your Printer Produces Muddy Colors
- Clean the print head (consult your printer manual—this is usually straightforward)
- Check that color cartridges aren't nearly empty
- Try printing on premium paper, which often accepts ink more crisply
- Consider having your chart printed professionally at a print shop for important projects
If Your Printer Lacks Color Capability
You have options:
- Use a black-and-white chart with a color legend printed separately
- Print at a local pharmacy, print shop, or library with color printers
- Carefully hand-color a printed black-and-white chart with highlighters or colored pencils (tedious but viable)
Post-Print Care
Storage
Keep printed charts in good condition:
- Store flat in a binder or folder, away from direct sunlight
- Avoid plastic sleeves that trap moisture
- Keep away from pets and coffee cups (experience speaking)
- If you plan to reference a chart repeatedly, consider laminating it—the cost is modest and the durability gain is substantial
Protection During Stitching
- Place your chart in a small acrylic holder or frame it behind glass
- Keep it elevated and visible without requiring constant adjustment
- Use a ruler or sticky note to track your current row (prevents reading errors)
- Wash your hands before stitching if your fingers are dusty—chart dirt is persistent
Special Situations
Large Projects (Over 100 Stitches in Either Direction)
For substantial charts, consider:
- Printing at a larger scale if your printer allows—working from a bigger chart is genuinely easier
- Breaking the chart into quadrants and printing each section separately, then reassembling
- Using a print shop that can print poster-size charts (they can then be trimmed and taped together)
High-Detail Charts (22-count and finer)
Smaller stitch counts mean tinier chart squares. These require:
- Printing at maximum quality settings
- Matte paper to reduce glare
- A magnifier or reading glasses to reference clearly
- Generous lighting in your work area
The Rhythm
Printing charts becomes second nature quickly. You'll develop preferences—certain papers, specific color settings, particular techniques for multi-page assembly. These preferences aren't obsessive; they're the marks of someone who's learned through small, pleasant iterations.
A well-printed chart is an act of self-care. It removes friction between intention and execution, letting your focus settle on the meditative work of stitching itself.
Print with intention. Your future stitching self will thank you.